
Stop AC Duct Leaks Before They Waste More Air
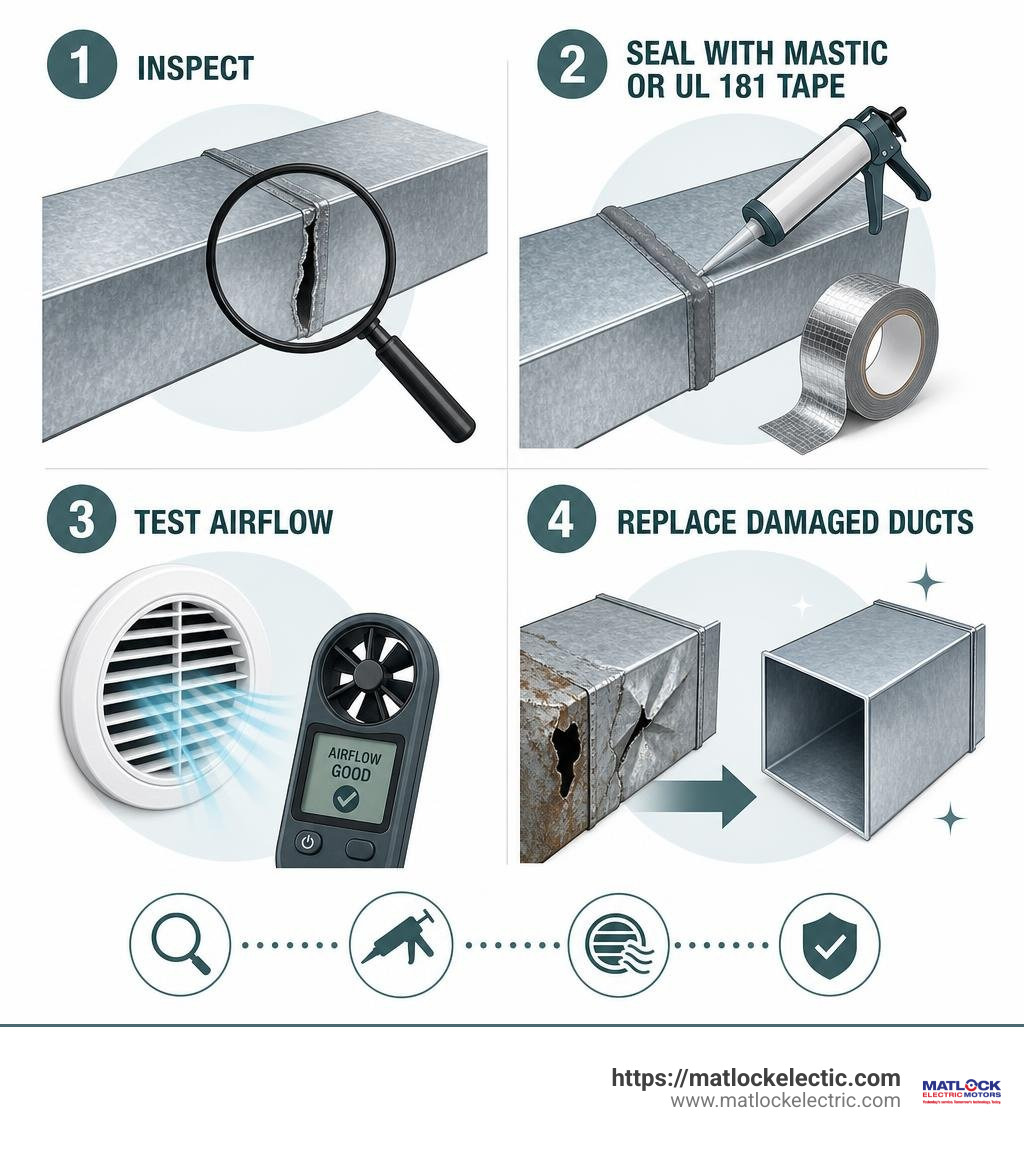
For minor, accessible AC duct leaks, start by turning off the HVAC system, checking exposed joints and flex ducts for tears or disconnects, and sealing small gaps with mastic sealant or UL 181-rated foil tape. Do not use ordinary cloth-backed duct tape. If ducts are crushed, moldy, heavily rusted, pest-contaminated, or hidden behind walls, call an HVAC professional for testing and repair.
Leaky ducts do more than make one room uncomfortable. In a typical home, improper duct installation and leaks can waste about 20% of the air moving through the duct system. That lost conditioned air can mean hot and cold spots, weak airflow, more dust near registers, higher utility bills, and extra strain on the air conditioner.
This guide explains how to spot a duct leak, make safe small repairs, and recognize when repair is no longer the right answer.
Identifying Signs and Causes of Duct Leaks
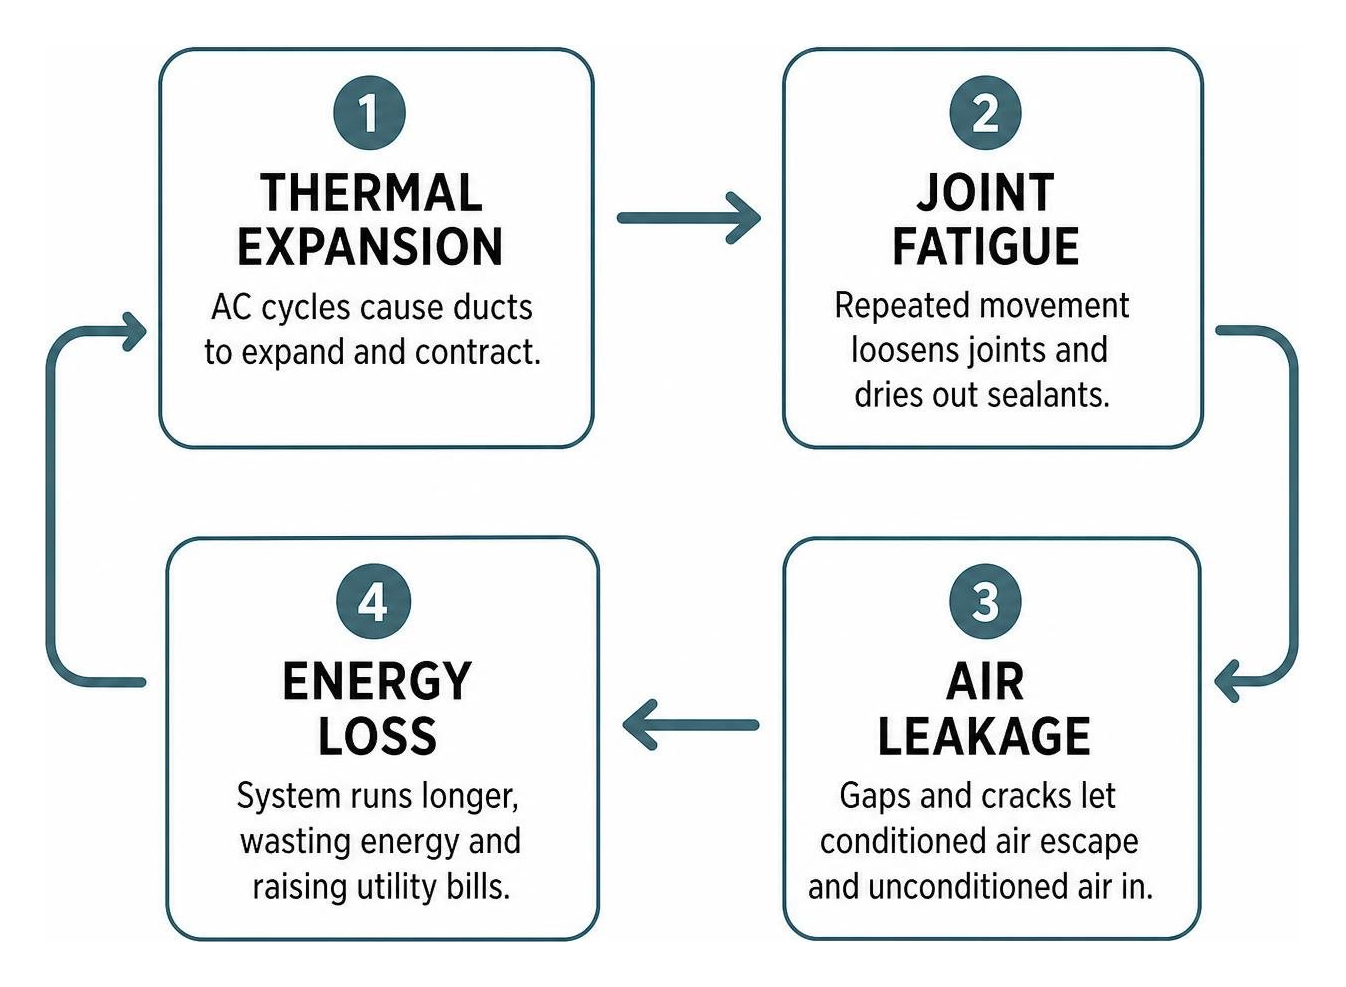
Because ductwork is usually tucked away in attics, crawl spaces, and behind drywall, problems often go unnoticed until performance drops or energy bills spike. Conditioned air escapes through cracked joints, while unconditioned attic or crawl space air gets pulled in. This forces your cooling system to run longer cycles to reach the thermostat setting.
When airflow is compromised, rooms farthest from the air handler suffer first. You may notice stuffy bedrooms, weak breeze from supply registers, or an indoor environment that feels humid and stale.
Common Symptoms of Damaged Ductwork
Recognizing the warning signs early prevents minor air leaks from turning into costly system failures. Look out for these common symptoms:
- Uneven Temperatures: Noticeable hot and cold spots throughout your home, where some rooms stay uncomfortably warm despite the AC running continuously.
- Spike in Utility Bills: An unexplained jump in monthly electric bills compared to the same period in previous years.
- Dust Rings Around Registers: Dark rings of dust or debris settling on ceilings and walls directly around supply vents.
- Whistling or Rattling Noises: High-pitched whistling sounds caused by pressurized air escaping small cracks, or rattling metal caused by loose fasteners.
- Musty Odors: Stale or earthy smells emerging when the blower kicks on, indicating air intake from damp crawl spaces or attic voids.
- Pest Evidence: Insect activity or rodent smells near returns, pointing to compromised duct sections.
What Causes Ducts to Deteriorate and Leak?
Air ducts operate under continuous thermal stress. Every time your air conditioner cycles on, cold air chills the metal or plastic liner; when it shuts off, hot ambient attic air warms the surface back up. Over years of thermal expansion and contraction, mechanical joints pull apart, sealants dry out, and connections loosen.
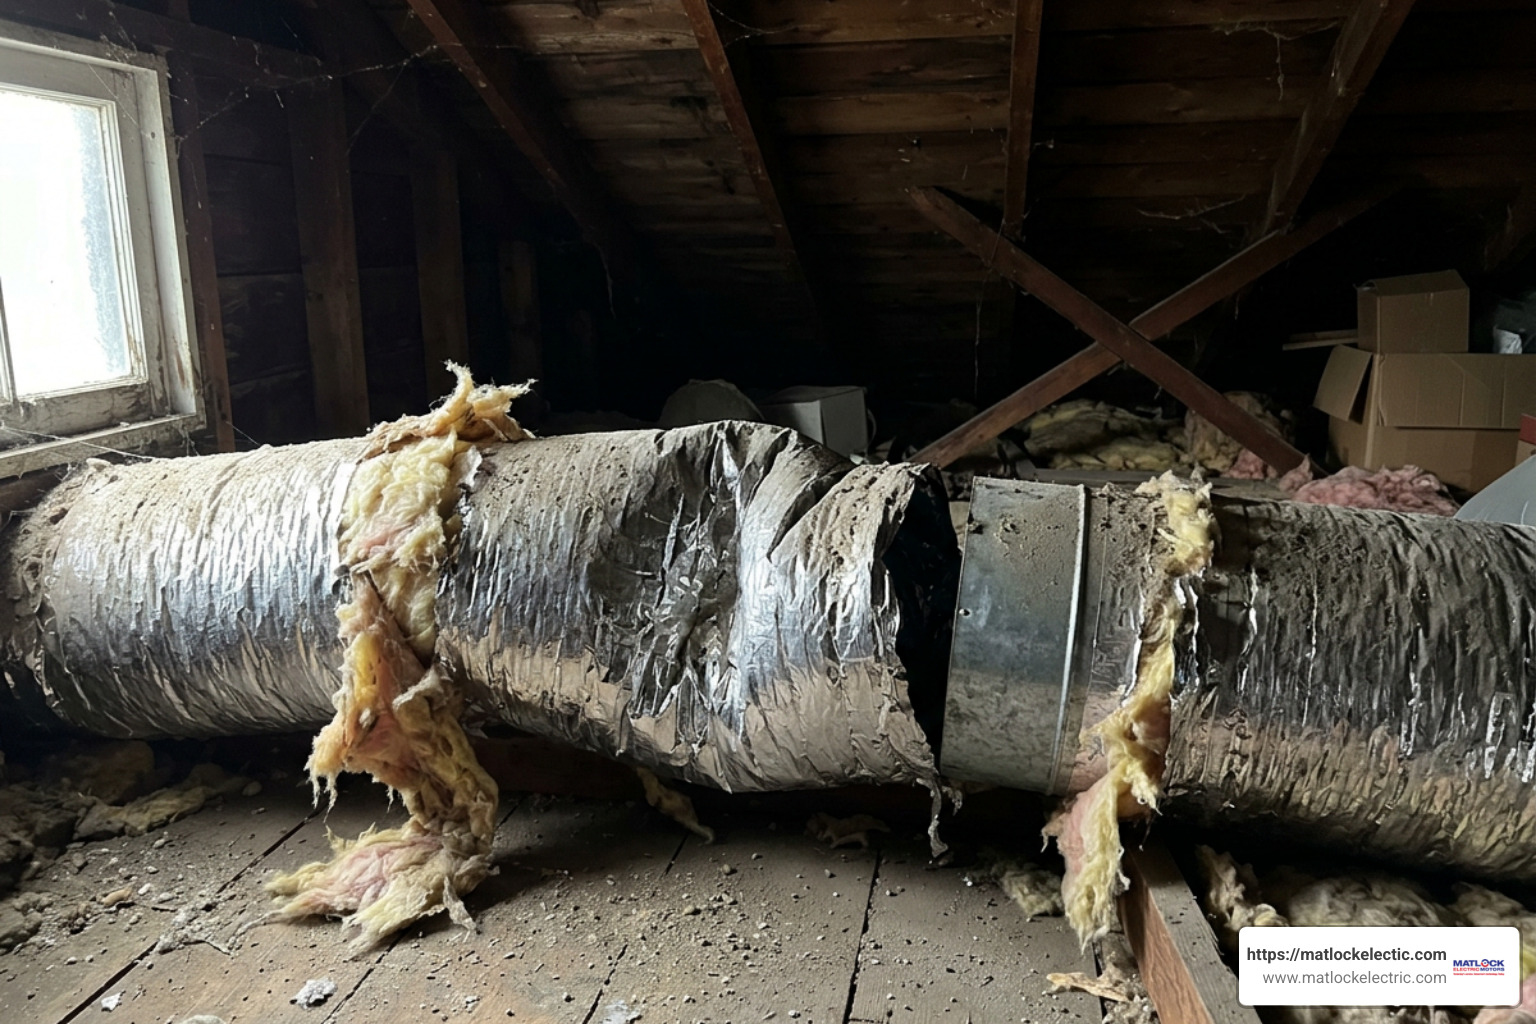
Physical disruptions are equally common. Trade workers navigating the attic can step on or dislodge runs, and heavy storage boxes in crawl spaces can crush flexible ducts. In unconditioned spaces, thin or missing insulation leads to duct sweating—where humid ambient air condenses against the chilled duct exterior. This standing moisture rots outer jackets, degrades insulation, rusts metal cabinets, and invites mold growth.
Step-by-Step Methods for AC Duct Repair
Tackling duct repairs requires the right materials and techniques based on the duct type (sheet metal versus flexible duct) and the leak’s severity.
DIY AC Duct Repair for Minor Holes and Gaps
For small, accessible punctures and loose joints, homeowners can achieve lasting seals using proper materials.
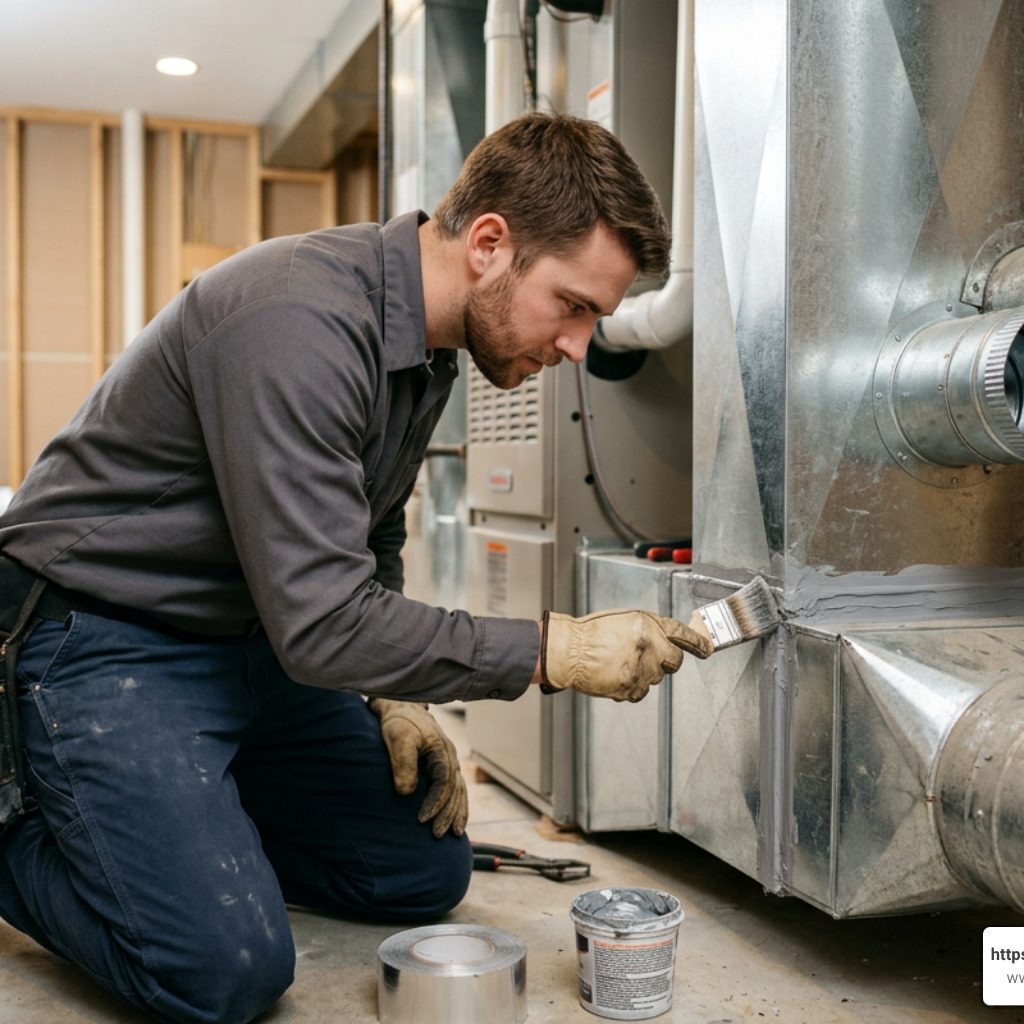
- Safety and Preparation: Turn off power to the HVAC system at the main breaker or unit disconnect. Wear Level 4 cut-resistant gloves, eye protection, and an N95 respirator.
- Clean the Surface: Wipe away dirt, grease, and insulation fibers from around the leak using a damp rag. Let the surface dry completely.
- Sealing Seams with Mastic: Apply a thick layer of water-based mastic sealant across joints using a paintbrush or caulk gun. For gaps wider than 1/4 inch, embed fiberglass mesh tape into the wet mastic and apply a second coat over the top to bridge the gap.
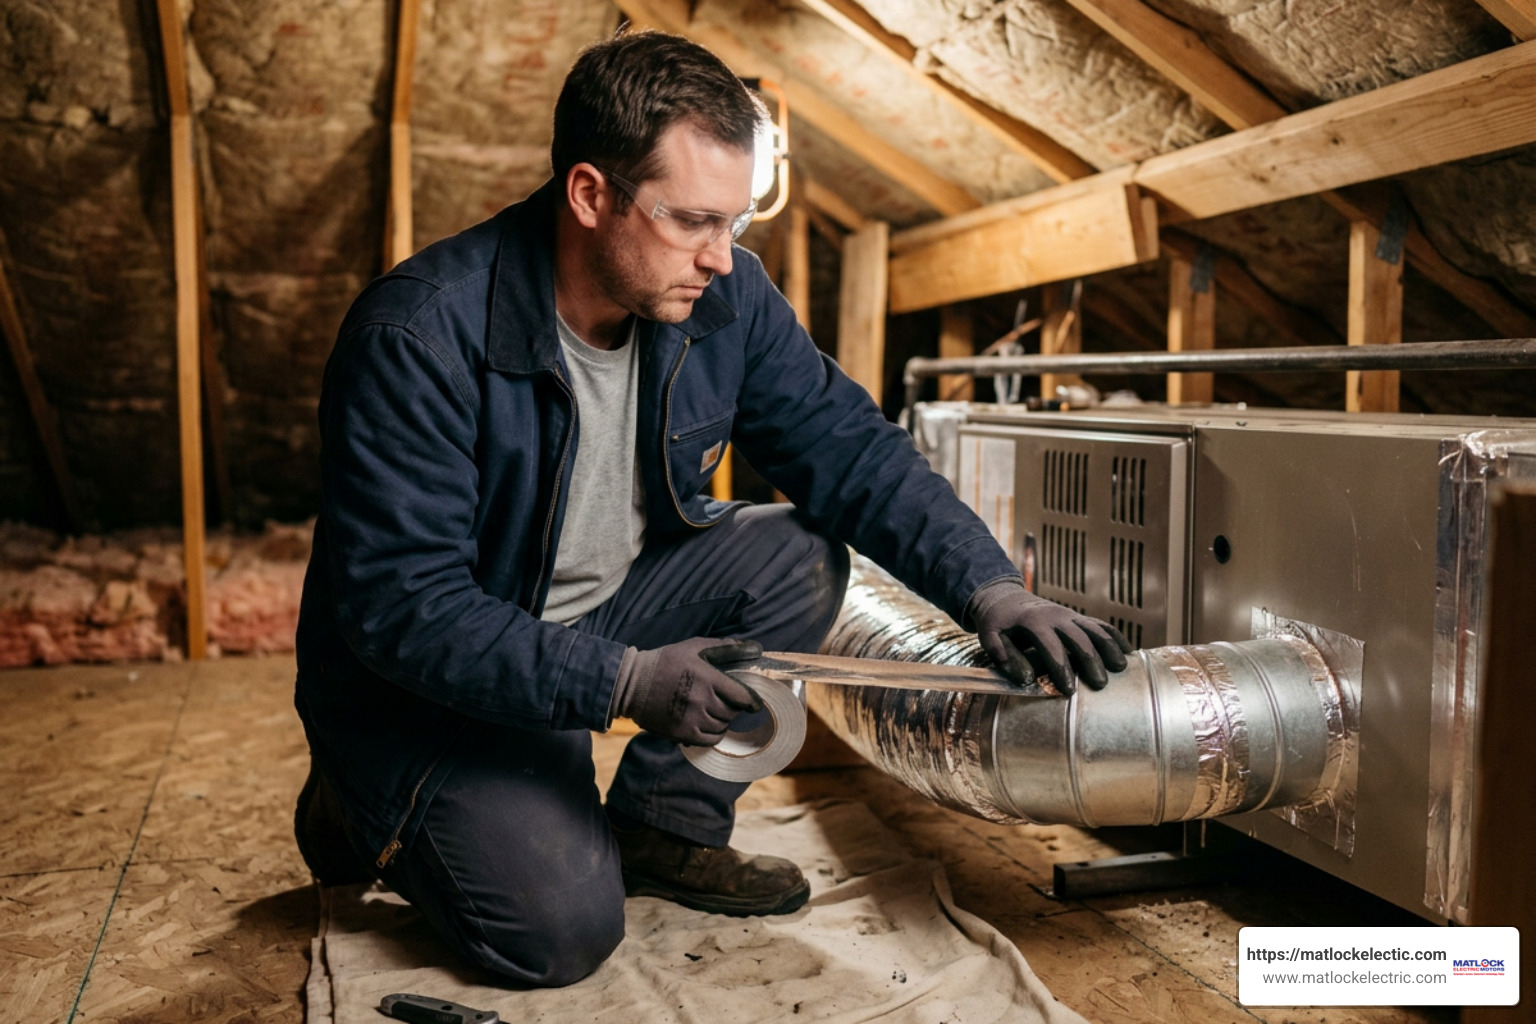
- Using Foil Tape: If using tape, select only Underwriters Laboratory (UL) 181-certified aluminum foil tape. Smooth it firmly over seams using a squeegee to eliminate air bubbles and ensure strong adhesion.
- Splicing Flexible Ducts: For torn flexible ducts, carefully pull back the outer insulation jacket. Insert a metal collar connector into the inner core, secure it with heavy-duty tension straps, seal the inner seam with mastic, pull the insulation back over the joint, and tape the outer vapor barrier closed.
Professional AC Duct Repair and Internal Sealing
When ductwork runs behind finished drywall, inside ceiling chases, or under subfloors, manual sealing is impossible without tearing out construction materials. In these cases, professional internal sealing technologies provide an effective alternative.
Systems like Aeroseal pressurize the entire duct run after blocking off all supply and return registers. Technicians introduce aerosolized sealant particles into the airstream. As the air escapes through hidden cracks and pinholes, the particles collide with the edges of the leaks, bonding together to seal gaps up to 5/8 inch wide.
For commercial facilities and complex residential setups, certified technicians provide mechanical services to resolve severe airflow imbalances, balance static pressure, and restore whole-system integrity.
Patching and Fastening Sheet Metal Ducts
Rigid sheet metal requires mechanical patching when punctures, rust spots, or disconnected collars occur.
- Cut the Patch: Use color-coded aviation snips (yellow for straight cuts, red for left, green for right) to cut a piece of 26-gauge galvanized steel that overlaps the damaged area by at least 2 inches on all sides.
- Deburr and Prepare: Remove sharp burrs from the metal edges to avoid cuts and ensure a flush fit. Clean the surrounding duct to bare metal.
- Apply Sealant Gasket: Spread a perimeter bead of mastic on the underside of the patch before placing it over the hole.
- Secure Fasteners: Fasten the patch using self-tapping sheet metal screws spaced roughly 3 inches apart. Detailed guidance on sheet metal patching techniques highlights the value of securing all edges to eliminate vibration and air bypass.
- Final Seal and Insulate: Coat all screw heads and patch seams with mesh-reinforced mastic. Wrap the repaired section with insulation (meeting local R-value standards, such as R-6 or R-8) to stop condensation.
Repair vs. Replacement: Making the Right Decision
Not all damaged duct systems should be patched. While minor gaps and isolated tears are straightforward to fix, extensive physical or environmental damage calls for full replacement.
| Factor | Repair Candidate | Replacement Candidate |
|---|---|---|
| System Age | Under 10 years old | Over 15–20 years old |
| Damage Scope | Isolated tears, loose joints, localized punctures | Crushed trunk lines, extensive corrosion, rotted liners |
| Air Quality Issues | Minor localized dust near single register | Widespread black mold growth, severe rodent nesting |
| Material Condition | Intact flexible liner and firm metal structure | Brittle, flaking metal, or shredded plastic core |
| Disaster Exposure | Minor humidity exposure | Standing water from house flood or structural fire |
Evaluating Duct Lifespan and Damage Severity
Residential duct systems typically have a functional lifespan of 10 to 15 years, with 20 to 25 years being the upper limit under ideal conditions. Over time, flexible duct inner cores become brittle and rip, while metal trunk lines can develop deep orange rust scaling.
If an attic duct run has been colonized by rodents, simple patching is neither sanitary nor safe. Urine and droppings contaminate the fiberglass insulation, sending airborne pathogens throughout your home whenever the fan runs. In these scenarios, or after events like floods and house fires, complete duct removal, attic sanitization, and new installation are essential.
Cost Breakdown: Repairing vs. Replacing Ductwork
Understanding standard pricing benchmarks helps you budget effectively:
- Minor Localized Repairs: Simple patch jobs and joint sealing typically range from $125 to $350, including materials and labor.
- Flex Duct Branch Replacement: Replacing a damaged 10- to 15-foot flexible branch line generally runs between $350 and $800.
- Trunk Line Repairs: Rebuilding or replacing multiple rigid metal sections or main plenums costs between $800 and $2,000+.
- Whole-Home Replacement: Complete ductwork replacement for an average residential home ranges from $1,500 to $5,000+ ($6 to $23 per linear foot), depending on home size, accessibility, and chosen materials.
Hiring a general handyperson ($40–$80/hr) can be cost-effective for simple, accessible patch work. However, complex airflow issues, plenum rebuilds, and diagnostic testing should be handled by licensed HVAC professionals ($75–$150/hr).
Proactive Maintenance and Energy Savings
Ductwork maintenance should never be strictly reactive. Adopting a proactive maintenance approach keeps equipment running efficiently, prevents unexpected breakdowns, and protects indoor air quality.
Testing and Verifying System Airflow
Visual inspections only tell part of the story. Professional technicians use specialized diagnostic tools to measure system performance:
- Static Pressure Checks: Using a digital manometer, technicians measure total external static pressure (TESP) before and after repairs. Undersized returns or restricted duct pathways cause high static pressure, straining the blower motor and reducing airflow.
- Duct Blaster and Blower Door Tests: Pressurizing the duct system allows technicians to measure the exact cubic feet per minute (CFM) of air leakage and identify hidden cracks.
- Smoke Pen Detection: Technicians release non-toxic chemical smoke near seams and plenums under positive or negative pressure to visually pinpoint air leaks.
Rebates and Long-Term Efficiency Benefits
Many local electric utilities and regional energy efficiency programs offer rebates for residential duct testing and sealing. These incentives often cover 50% to 75% of repair costs (up to $300–$400) when performed by a Building Performance Institute (BPI)-certified contractor.
By eliminating the typical 20% air loss found in unsealed homes, homeowners enjoy lower utility bills, more balanced room temperatures, and reduced wear on cooling components.
Frequently Asked Questions About Ductwork
How often should home air ducts be inspected?
Most HVAC professionals recommend scheduling a professional duct inspection every 3 to 5 years. However, you should inspect them sooner if you notice uneven room temperatures, a sudden increase in energy costs, musty odors, or excessive dust accumulation around vents.
What is the average cost of air duct repairs?
Professional diagnostic testing typically costs between $100 and $450. Comprehensive duct repairs for a standard single-family home generally fall between $300 and $1,500, depending on accessibility (such as tight attics or crawl spaces), the materials required, and whether return sizing adjustments are needed.
Can I use regular duct tape to fix AC ducts?
No. Despite its name, standard cloth-backed duct tape should never be used on HVAC ducts. Its rubber-based adhesive dries out, becomes brittle, and fails under normal heating and cooling temperature cycles. Always use UL 181-rated aluminum foil tape or water-based mastic sealant for lasting, code-compliant seals.
Conclusion
Maintaining intact, properly sealed ductwork is vital for indoor comfort, air quality, and cooling efficiency. Whether you are patching minor accessible seams with mastic sealant or scheduling diagnostic airflow testing, addressing air leaks early prevents costly wear on your HVAC equipment.
When you need comprehensive diagnostics, motor maintenance, or professional AC repairs, trust the experienced team at Matlock Electric to keep your cooling systems running smoothly and efficiently.